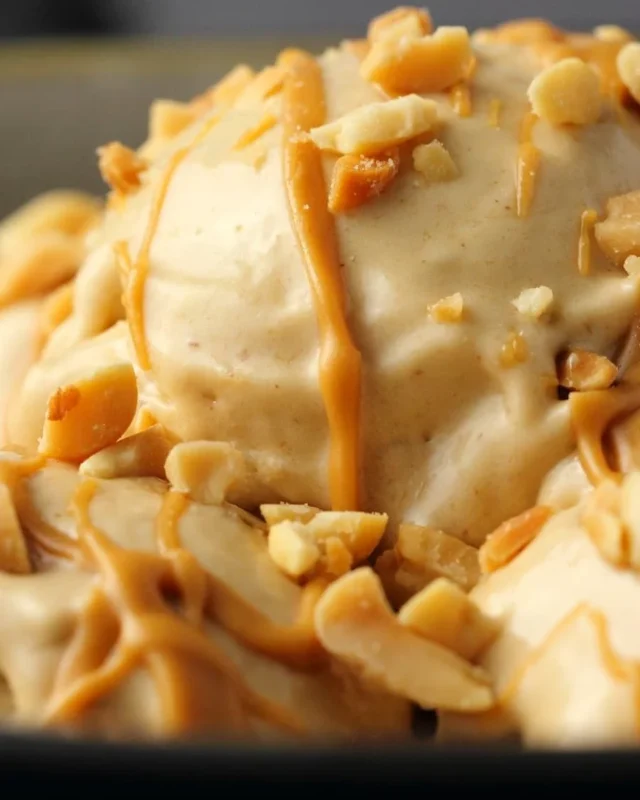
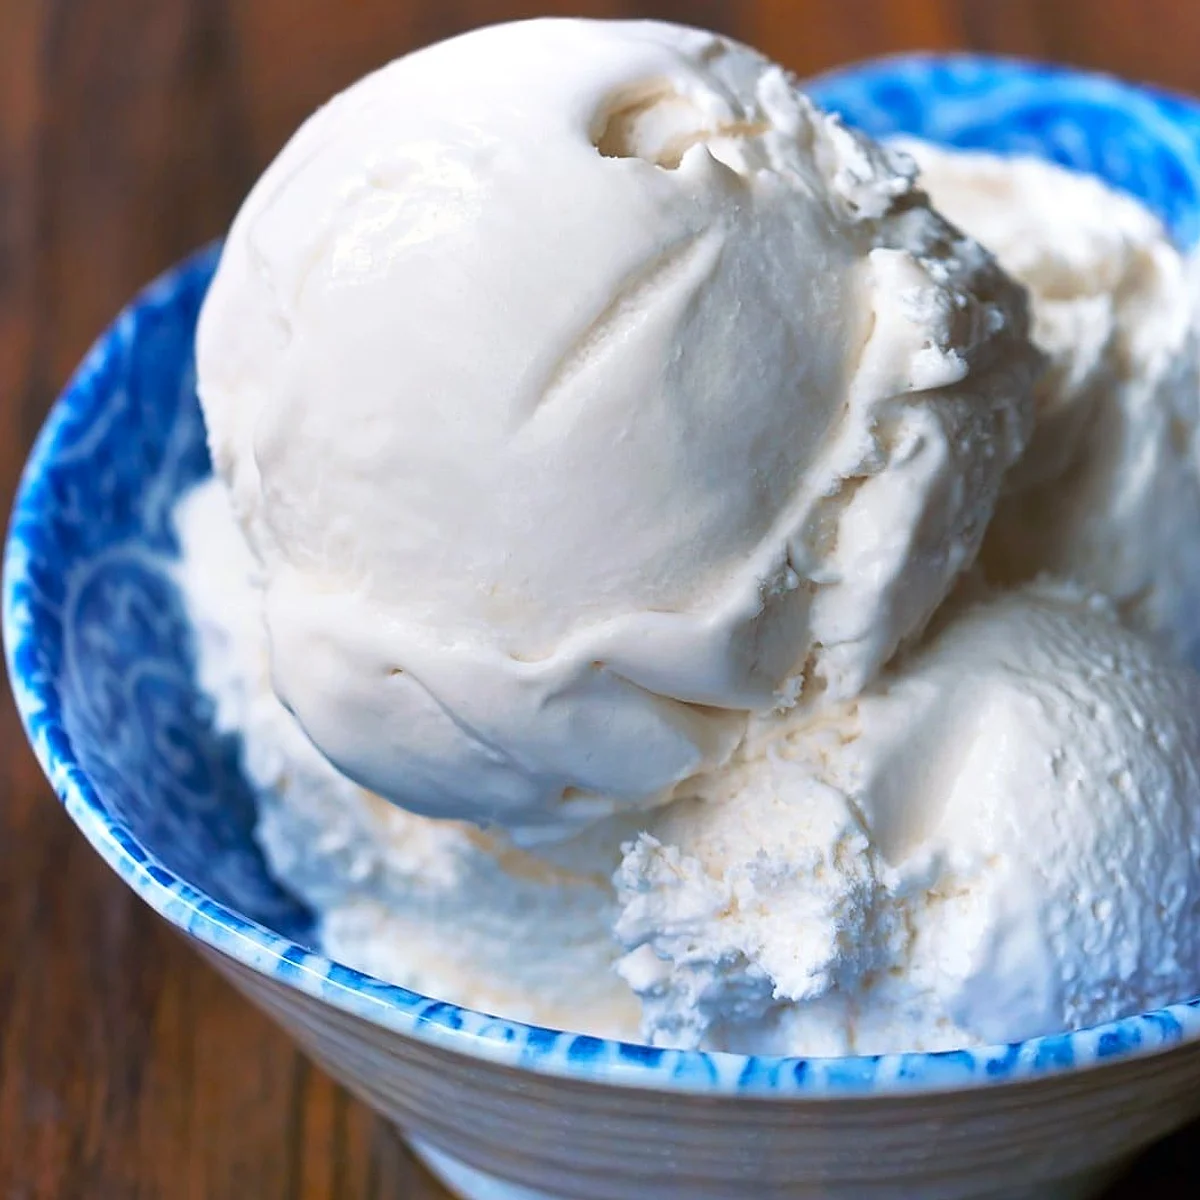
Coconut ice cream is my go-to dessert on hot evenings when nobody wants to turn on the oven. It is creamy, lightly sweet, and made with ingredients most kitchens already have.
This version works well for weeknight treats, backyard barbecues, or a simple dessert for a potluck. It is naturally dairy-free and easy to adjust for different sweeteners.
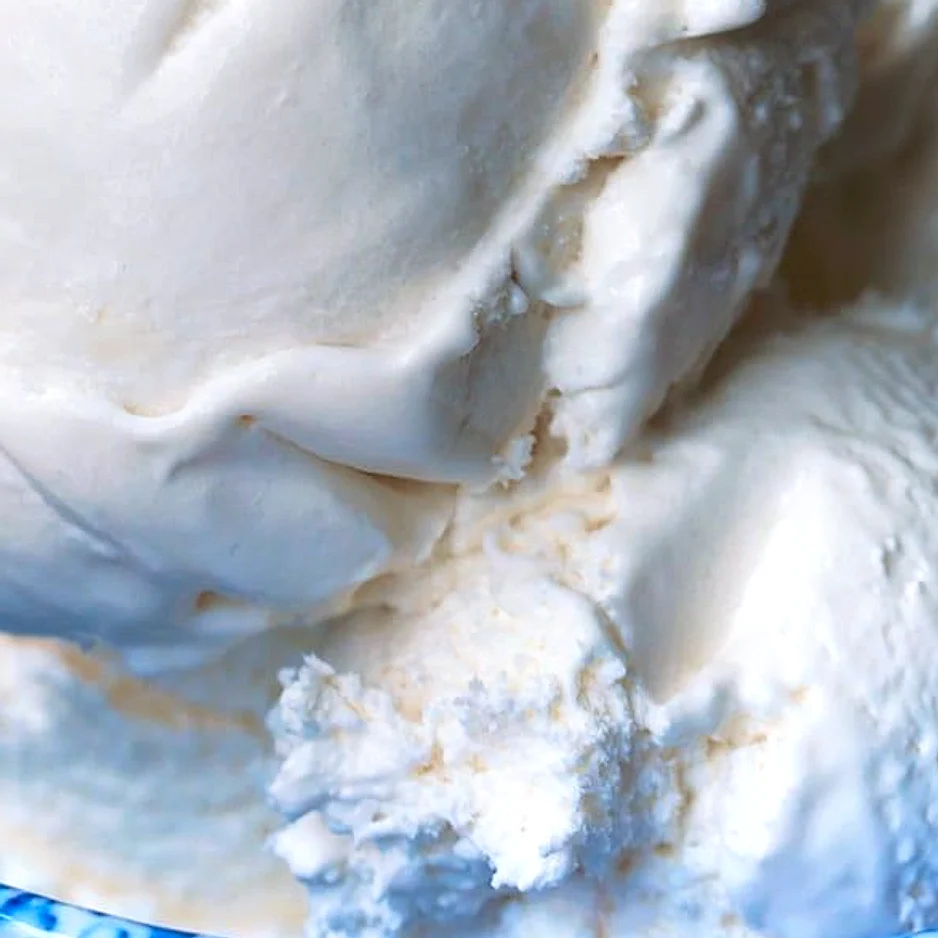
You do not need a fancy machine to get a smooth scoop. With a few minutes of prep and a freezer, you can have a batch ready for the week.
Why This Recipe Works
Canned coconut milk has enough fat to give this ice cream a rich, scoopable texture without any dairy. Blending it with a little extra milk keeps the mixture smooth rather than thick and heavy.
Salt and vanilla bring out the coconut flavor, so the dessert tastes balanced instead of flat. The whole batch costs very little, which makes it an easy choice when you want a sweet treat without a long shopping list.
Ingredients
- Canned coconut milk
- Additional coconut milk or milk of choice
- Sweetener of choice
- Salt
- Pure vanilla extract
- Optional flavor add-ins
Check the recipe card below for exact amounts before you start.
Variations
- Maple Coconut – Use pure maple syrup as the sweetener for a deeper, caramel-like flavor.
- Chocolate Chip – Fold mini dairy-free chocolate chips into the mixture once it is chilled.
- Toasted Coconut – Stir in toasted coconut flakes before freezing for extra texture and nutty flavor.
- Tropical Mango – Swirl in a few spoonfuls of mashed ripe mango for a bright, fruity twist.
How to Make Coconut Ice Cream
- Step 1 – Pour the canned coconut milk into a bowl and stir well so the cream and liquid are fully combined.
- Step 2 – Add the additional coconut milk, sweetener, salt, and vanilla extract, then whisk until the sugar or syrup dissolves.
- Step 3 – Taste the mixture and adjust the sweetness if needed, remembering that cold food tastes less sweet.
- Step 4 – Stir in any optional flavor add-ins now, such as cocoa, fruit purée, or toasted coconut.
- Step 5 – Pour the mixture into a shallow freezer-safe container and cover it with a lid or plastic wrap.
- Step 6 – Freeze for 30 minutes, then stir vigorously with a fork to break up ice crystals around the edges.
- Step 7 – Repeat the stirring every 30 minutes for about 3 hours until the ice cream is firm but scoopable.
- Step 8 – Let the ice cream sit at room temperature for 5 minutes before scooping for the smoothest texture.
Recipe Tips
- Chill the mixture first – A cold base freezes faster and forms smaller ice crystals, so the texture stays creamy.
- Use full-fat canned coconut milk – Light versions contain more water and can turn icy.
- Stir often at the start – Frequent stirring in the first hour keeps the ice cream smooth.
Serving Suggestions
Serve scoops in a cone or bowl with fresh berries, sliced banana, or a drizzle of warm chocolate sauce. A sprinkle of toasted coconut adds crunch and makes the dessert feel special.
For a fun family treat, set out a few toppings and let everyone build their own sundae. It works just as well for a casual dinner party.
How to Store Leftovers
Store the ice cream in an airtight container in the freezer for up to two weeks. Press a sheet of parchment directly onto the surface before sealing to reduce freezer burn.
Let it soften on the counter for 5 to 10 minutes before scooping. Avoid refreezing after it has fully thawed, since the texture will become icy.
Frequently Asked Questions
Can I make coconut ice cream without an ice cream maker?
Yes. Freeze the mixture in a shallow container and stir it every 30 minutes for about three hours. This breaks up ice crystals and gives a smooth, scoopable texture without special equipment.
What sweetener works best for coconut ice cream?
Sugar dissolves easily and gives a clean sweetness, while pure maple syrup adds a deeper flavor. Choose the sweetener you enjoy most, and taste the base before freezing.
Why is my coconut ice cream too hard?
Hard ice cream often has too much water, usually from light coconut milk. Use full-fat canned coconut milk and stir during freezing to keep it softer and easier to scoop.
Can I use a different milk instead of coconut milk?
Yes, you can use another plant-based milk for the extra liquid. Keep the canned coconut milk for richness, since it gives the ice cream its creamy body.
 Recipe byLucy Walker
Coconut Ice Cream
Ingredients
- 1 1/2 cup canned coconut milk
- 1/2 cup additional coconut milk (or milk of choice)
- 1/3 cup sweetener of choice (such as sugar or pure maple syrup)
- 1/8 tsp salt
- 1 1/2 tsp pure vanilla extract
- Optional flavor add-ins as desired
Instructions
- Pour the canned coconut milk into a bowl and stir until smooth.
- Add the additional coconut milk, sweetener, salt, and vanilla extract, then whisk until the sweetener dissolves.
- Taste and adjust sweetness if needed.
- Stir in any optional flavor add-ins.
- Pour the mixture into a shallow freezer-safe container and cover.
- Freeze for 30 minutes, then stir vigorously with a fork to break up ice crystals.
- Repeat stirring every 30 minutes for about 3 hours until firm but scoopable.
- Let sit at room temperature for 5 minutes before scooping.
Notes
- Use full-fat canned coconut milk for the creamiest texture.
- Store in an airtight container for up to two weeks.